Secure POD to POD communication – Kubernetes Security Hardening
You can create secure docker images and deploy your pods securely as per below blog posts respectively:
- Secure Docker Images: https://idlbuzz.com/kubernetes-security-hardening-secure-docker-images/
- Secure Pods: https://idlbuzz.com/deploying-secure-pods-kubernetes-security-hardening/
But we still may have security issues if POD to POD communication is not secure. By default POD to POD communication is over http and not encrypted.
How to encrypt POD to POD communication?
The POD to POD communication can be encrypted by using mTLS (mutual TLS) which is extension of TLS (succesor of SSL).
I will not get into how TLS works but TLS allows secure encrypted communication between a client and a server. In TLS identity of server is confirmed by TLS certificate issued by a CA (Certificate Authority). In TLS we do not need to confirm identity of client.
With mTLS (mutual TLS) client and server (or both clients in case client to client communication) both have certificates issued by Certificate Authority (CA).
In kubernetes, we can achieve encrypted POD to POD communication using mTLS. But this can get tedious as implementing mTLS is no joke. So how do we implement mTLS in our cluster without worrying about complexity of mTLS implementation. Let’s see this in next section.
How to implement mTLS in Kubernetes?
The answer to this question is Service Mesh. There are service mesh tools like Linkerd and Istio which makes implementing mTLS very easy.
The below is the definition of Service Mesh from Linkerd website:
A service mesh like Linkerd is a tool for adding observability, security, and reliability features to “cloud native” applications by transparently inserting this functionality at the platform layer rather than the application layer.
A service mesh is much powerful tool. It does a lot more than just adding mTLS.
In this blog post, we will only stick to mTLS part and will use Linkerd to implement mTLS in our cluster.
With Linkerd we will inject a sidecar container to our pods which will take care of encrypting POD to POD communication.
A sidecar container is another container which will run inside your pod along with your application code. This is possible you can run more than one containers inside a POD.
Linkerd can automatically inject sidecar container and you only need to add a annotation to your pod
metadata:
      annotations:
        linkerd.io/inject: enabled
Set up Lab for Practical
We will install local kubernetes with kind and then use docker to set up an isolated environment for using linkerd to set up mTLS for POD to POD communication.
Follow the below document for setting up kind and docker environment
Install Linkerd to your Kubernetes cluster
Linkerd provides a cli tool which helps in installing and deploying Linkerd. Let’s first install Linkerd
curl -L -o linkerd https://github.com/linkerd/linkerd2/releases/download/edge-22.12.1/linkerd2-cli-edge-22.12.1-linux-amd64
chmod +x linkerd && mv ./linkerd /usr/local/bin/

linkerd --help
Linkerd cli can do pre checks before you install Linkerd.
/work # linkerd check --pre
Linkerd core checks
===================

kubernetes-api
--------------
√ can initialize the client
√ can query the Kubernetes API

kubernetes-version
------------------
√ is running the minimum Kubernetes API version

pre-kubernetes-setup
--------------------
√ control plane namespace does not already exist
√ can create non-namespaced resources
√ can create ServiceAccounts
√ can create Services
√ can create Deployments
√ can create CronJobs
√ can create ConfigMaps
√ can create Secrets
√ can read Secrets
√ can read extension-apiserver-authentication configmap
√ no clock skew detected

linkerd-version
---------------
√ can determine the latest version
√ cli is up-to-date

Status check results are √
As you can see we have all checks passed. Now we will download Linkerd manifest with help of linkerd cli and then deploy using kubectl
# linkerd install --crds > linkerd--crd-install.yaml

# linkerd install > linkerd-install.yaml
Now deploy with kubectl
# kubectl apply -f linkerd--crd-install.yaml


# kubectl apply -f linkerd-install.yaml
Now you can check the installation using linkerd cli
# linkerd checkAwesome! We have successfully installed Linkerd in our kubernetes cluster. Now next step is to install an application to see Linkerd in action.
Deploy an application to your Kubernetes cluster
We will deploy a sample app called EmojiVoto. It is a simple app that lets you vote for an emoji. Lets install this app directly from its source using below
curl --proto '=https' --tlsv1.2 -sSfL https://run.linkerd.io/emojivoto.yml \
  | kubectl apply -f -
We can check the pods and services running for application as follows:
# kubectl get pods -n emojivoto
NAME                        READY   STATUS    RESTARTS   AGE
emoji-78594cb998-nznnh      1/1     Running   0          2m47s
vote-bot-786d75cf45-cvxp4   1/1     Running   0          2m47s
voting-5f5b555dff-5b6mv     1/1     Running   0          2m47s
web-68cc8bc689-g9nhk        1/1     Running   0          2m47s

# kubectl get svc -n emojivoto
NAME         TYPE        CLUSTER-IP     EXTERNAL-IP   PORT(S)             AGE
emoji-svc    ClusterIP   10.96.153.43   <none>        8080/TCP,8801/TCP   3m17s
voting-svc   ClusterIP   10.96.44.132   <none>        8080/TCP,8801/TCP   3m17s
web-svc      ClusterIP   10.96.125.22   <none>        80/TCP              3m17s
On a different terminal (not in Docker), expose web service to check app
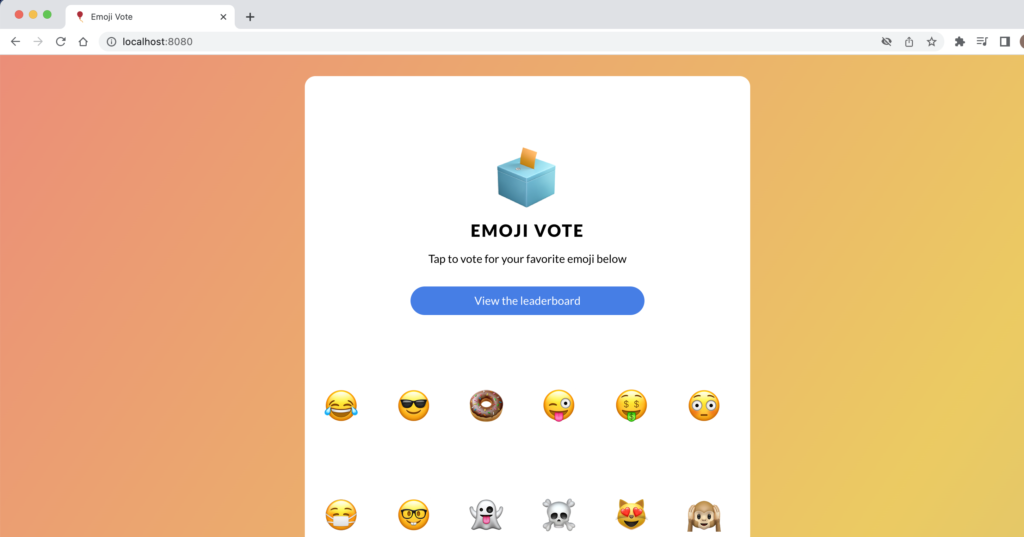
% kubectl -n emojivoto port-forward svc/web-svc 8080:80Now open http://localhost:8080

Awesome! Application is working. But We have not meshed it using Linkerd yet and hence POD to POD communication is still not using mTLS.
Linkerd Dashboard
We will install Linkerd Dashboard before activating Linkerd. We will need to install viz for installing metrics and stat components via Linkerd cli
$ linkerd viz install | kubectl apply -f -

$ linkerd check
Now we access it from another terminal (not in Docker)
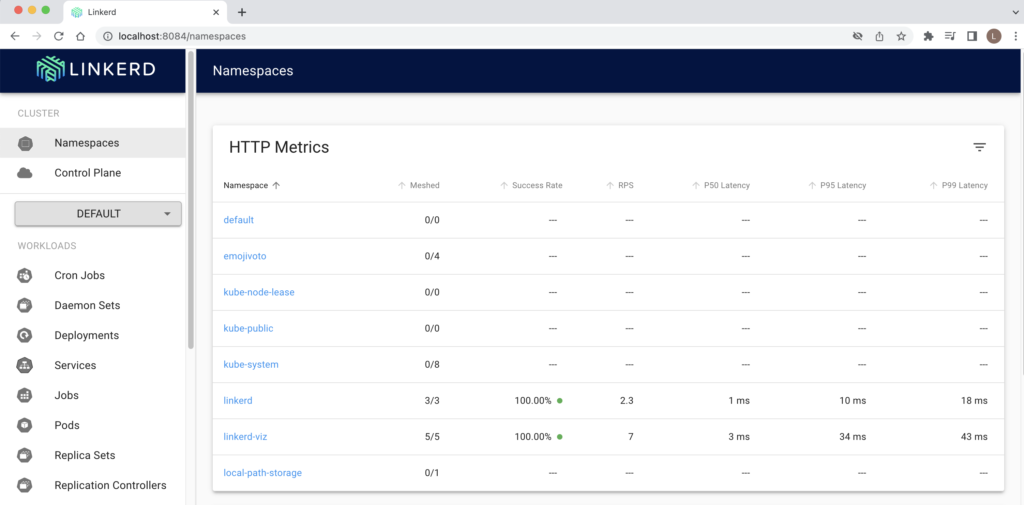
% kubectl -n linkerd-viz port-forward svc/web 8084 The dashboard will be available at http://localhost:8084

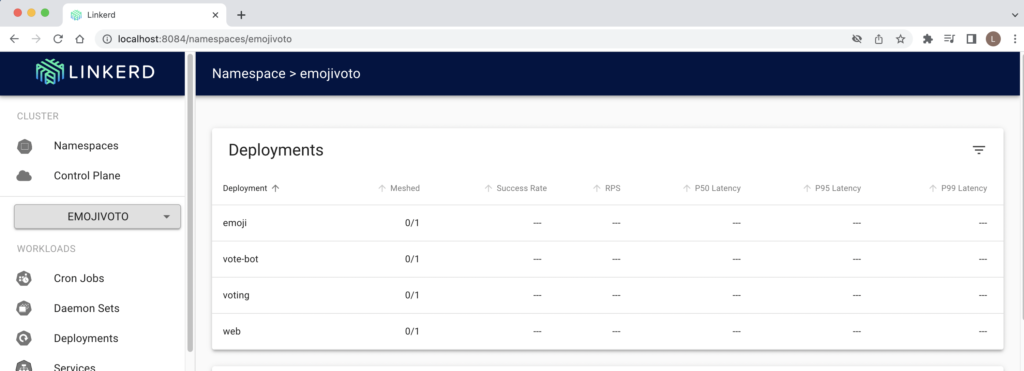
We can click on emojivoto namespace and can see it is not meshed yet (0/1)

Activate Linkerd service mesh
Now we can turn Linkerd service mesh on for the application as follows using linkerd inject cli command
kubectl get -n emojivoto deploy -o yaml \
  | linkerd inject - \
  | kubectl apply -f -
In addition to this you can also add the below annotation to your Deployment resource and redeploy the Deployment resource
  template:
    metadata:
      annotations:
        linkerd.io/inject: enabled
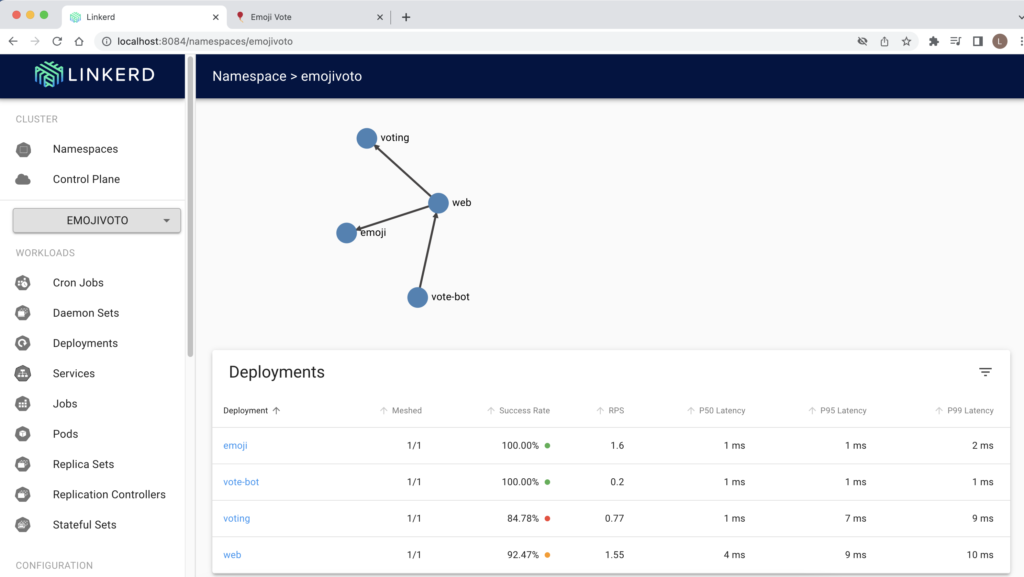
We can check dashboard that application has been meshed

We can browse application and check that application is working and see can see data from mesh in the dashboard as well.
Verify mTLS
We can verify mTLS using linkerd
/work # linkerd viz -n emojivoto  edges deployment
SRC          DST        SRC_NS        DST_NS      SECURED
vote-bot     web        emojivoto     emojivoto   √
web          emoji      emojivoto     emojivoto   √
web          voting     emojivoto     emojivoto   √
Another way is using Linkerd tap
# linkerd viz -n emojivoto tap deployYou will see wireshark like output. Keep it running and browse application. You can see the communication is using mTLS
req id=2:14 proxy=in  src=10.244.0.20:40406 dst=10.244.0.21:8080 tls=true :method=POST :authority=voting-svc.emojivoto:8080 :path=/emojivoto.v1.VotingService/VoteBulb
rsp id=2:14 proxy=in  src=10.244.0.20:40406 dst=10.244.0.21:8080 tls=true :status=200 latency=378µs
end id=2:14 proxy=in  src=10.244.0.20:40406 dst=10.244.0.21:8080 tls=true grpc-status=OK duration=174µs response-length=5B
req id=10:14 proxy=out src=10.244.0.20:33426 dst=10.244.0.21:8080 tls=true :method=POST :authority=voting-svc.emojivoto:8080 :path=/emojivoto.v1.VotingService/VoteBulb
rsp id=10:14 proxy=out src=10.244.0.20:33426 dst=10.244.0.21:8080 tls=true :status=200 latency=933µs
end id=10:14 proxy=out src=10.244.0.20:33426 dst=10.244.0.21:8080 tls=true grpc-status=OK duration=15µs response-length=5B
Awesome!! We have secured POD to POD communication without making any application level changes. You can just install Linkerd and activate it using linkerd cli or annotation and that’s it! You have mTLS set up for POD to POD communication.
