
How to do quick Kubernetes POCs using kind?
In this blog I will introduce kind.
kind is a tool for running local Kubernetes clusters but this tool is different from other tools for running local Kubernetes cluster.
The difference is in the fact that kind runs your whole kubernetes cluster inside a docker container.
$ docker ps
CONTAINER ID   IMAGE                  COMMAND                  CREATED         STATUS         PORTS                       NAMES
4d87ee62fce1   kindest/node:v1.24.7   "/usr/local/bin/entr…"   5 minutes ago   Up 4 minutes   127.0.0.1:56911->6443/tcp   testcluster1-control-plane
Yes…. It may seem strange but it is possible because docker lets you run docker containers inside docker containers.
kind was primarily designed for testing Kubernetes itself, but may be used for local development or CI.
How to install?
First you need to install kind tool itself. This can be done using steps provided in this link: https://kind.sigs.k8s.io/docs/user/quick-start/#installation
You would also need to have docker installed as kind will run cluster inside a docker containers.
Benefits of using kind
Since kind runs inside a container, it can create or delete a cluster very quickly.
It is very helpful if you want to do a POC with any of new operator or Kubernetes tool.
Practical with kind
Lets see how we can use kind and docker to do everything inside a docker container.
Please make sure you have installed kind.
Lets create a kind cluster
$ kind create cluster -n testcluster1 --image kindest/node:v1.24.7Above will create a cluster testcluster1 and will use image kindest/node:v1.24.7 which will create a Kubernetes cluster with version 1.24.7
Omitting –image from above command will install latest Kubernetes version. You can choose which version to install with –image argument. Please see release page for what image to use: https://github.com/kubernetes-sigs/kind/releases
Let’s check our cluster
$ kubectl get nodes
NAME                         STATUS   ROLES           AGE   VERSION
testcluster1-control-plane   Ready    control-plane   17m   v1.24.7
You can see a kubernetes cluster is running on your local. You can deploy below sample pod yaml. Save this in file nginx-pod.yaml
apiVersion: v1
kind: Pod
metadata:
  name: nginx
spec:
  containers:
  - name: nginx
    image: nginx:1.14.2
    ports:
    - containerPort: 80
Let’s create a pod
$ kubectl apply -f nginx-pod.yaml
pod/nginx created
Let’s check the pod status
$ kubectl get pods
NAME    READY   STATUS    RESTARTS   AGE
nginx   1/1     Running   0          56s
Awesome!! We have pod running inside our kind Kubernetes cluster.
Let’s try to expose to our local network and access nginx.
$ kubectl port-forward pod/nginx 6080:80
Forwarding from 127.0.0.1:6080 -> 80
Forwarding from [::1]:6080 -> 80
We will now try to open http://localhost:6080 from our browser

Hurray!! It is working like any other kubernetes cluster.
POC inside a docker container
All above we did from our local laptop/desktop’s terminal. We can do the same inside a docker container as well so that we do not have to install tools on our local. Instead we can do it inside a docker. This provides you a python virtenv like method to perform your pocs and other work.
Start a alpine docker image and mount current working directory and HOME dir (for kubeconfig) as follows:
$ docker run -it --rm -v ${HOME}:/root/ -v ${PWD}:/work -w /work --net host alpine sh
Unable to find image 'alpine:latest' locally
latest: Pulling from library/alpine
261da4162673: Pull complete
Digest: sha256:8914eb54f968791faf6a8638949e480fef81e697984fba772b3976835194c6d4
Status: Downloaded newer image for alpine:latest
/work #
As you see your terminal is now running directory from inside the docker.
On check the directory contents you can see file that we created above.
/work # ls -lrt
total 4
-rw-r--r--    1 root     root           144 Dec 22 03:41 nginx-pod.yaml
Since it is shared you can create files here and it will be created on your local also. Cool right!
Now since it is not our local, we do not have kubectl installed
/work # kubectl
sh: kubectl: not found
Let’s install using below. Now everything you install here is getting installed in docker image and your local OS is safe:
apk add --no-cache curl
curl -LO https://storage.googleapis.com/kubernetes-release/release/`curl -s https://storage.googleapis.com/kubernetes-release/release/stable.txt`/bin/linux/amd64/kubectl
chmod +x ./kubectl
mv ./kubectl /usr/local/bin/kubectl
Now let’s check the pod that we created above
/work # kubectl get pods
NAME    READY   STATUS    RESTARTS   AGE
nginx   1/1     Running   0          12m
As you can see, we see the pod we created before. Docker container is interacting with k8s cluster same way your local/host OS is.
Now let’s delete the pod
/work # kubectl delete pod nginx
pod "nginx" deleted
Check if it is deleted
/work # kubectl get pods
No resources found in default namespace.
Okay.
Now let’s recreate from inside the container.
/work # kubectl apply -f nginx-pod.yaml
pod/nginx created

/work # kubectl get pods
NAME    READY   STATUS    RESTARTS   AGE
nginx   1/1     Running   0          12s
As you see it just recreated the pod. How great is this. We are running kubectl commands inside the docker container and local/HOST OS is not impacted. This is a great way of testing new code or tools as you will always have a fresh OS and will reduce chances of missing any issues.
Let’s try to expose again. I will use different port this time to prove this is done from inside container.
NOTE: This command needs to be run from different terminal from your local OS/HOST because if you from inside docker container it will be accessible only from docker container. But Since pod is deployed on k8s cluster which is equally accessible from your local OS/HOST as well you can expose from your local.
$ kubectl port-forward pod/nginx 5080:80
Forwarding from 127.0.0.1:5080 -> 80
Forwarding from [::1]:5080 -> 80
Let’s try to connect http://localhost:5080.
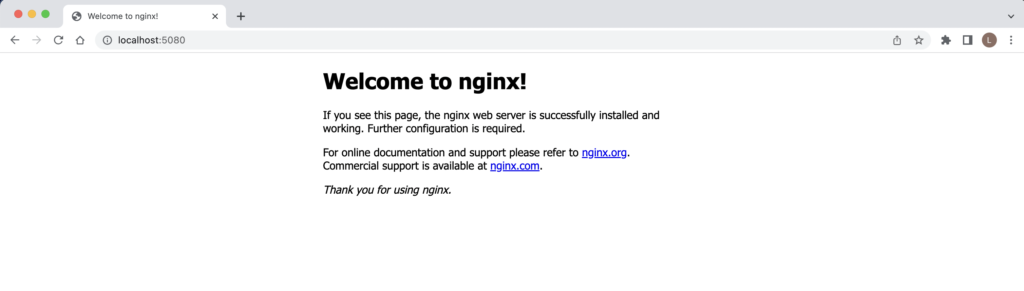
As you can see it connects successfully!!
That’s all. Please try to explore more and try to use for learnings and your work as well. I hope this will help you a lot to perform your devops work even better and faster.
Credit Note: This blog is inspired by ThatDevOpsGuy Youtube Videos.
One Comment
Comments are closed.